|
For this assignment we were given a picture of a car in what looks like a show room. Our job was to slightly change the levels of the color in the image and retouch the photo in order to eliminate some of the white reflective spots on the hood of the car. We did this using the clone stamping tool in photoshop. We also used a selection tool to help us re-paint the background to black and tinted the windshield. Both the original car and retouched car are below.  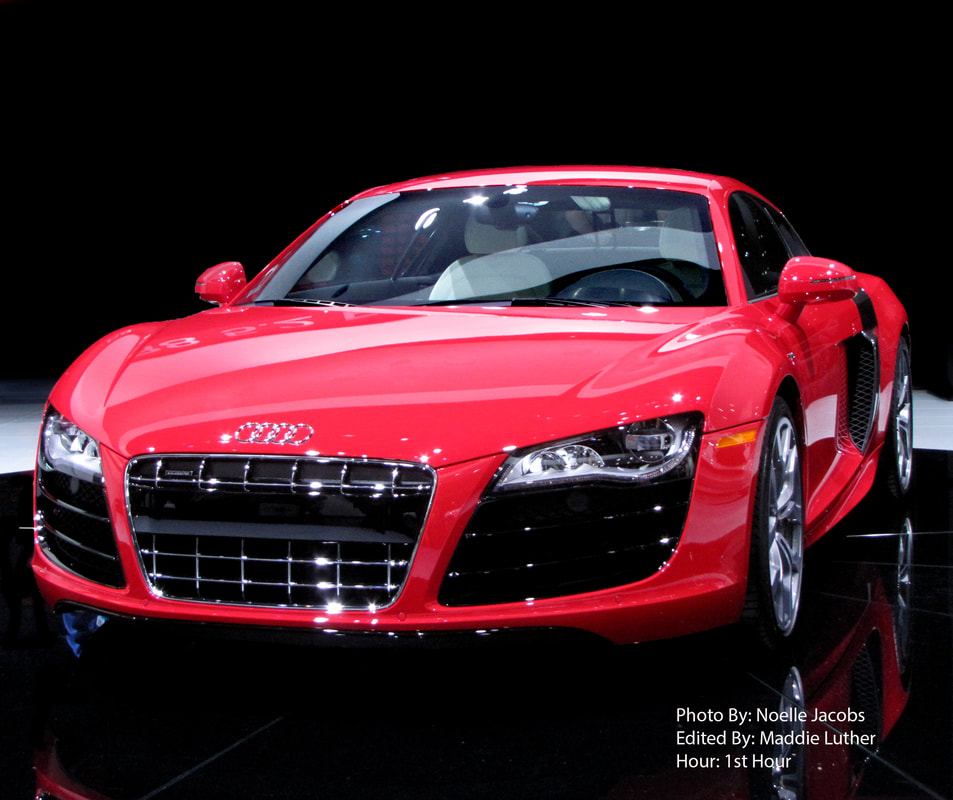 In this assignment I learned a lot more about photoshop. First, I learned the importance of layers as if you are on the wrong layer, the clone stamping tool did not work properly and just showed up white. I also learned how to properly use the quick selection tool and how to move the "marching ants" in and out using the + and - selections. I has some trouble figuring out how to get my text white, but was able to get help and understand the multiple ways you can select text color. Overall, this assignment helped me become more comfortable with photoshop as a whole.
0 Comments
For this assignment we chose from a list multiple categories and shot 40-50 photos that lie within the boundaries of the category we chose. This week, I chose Macro category, meaning close up photographs to show the detail of my subject. For many of my photos, I worked on getting a larger aperture opening to show a short depth of field and really focus on my main subject. Below are my best photos!  This photo's technical elements are as follows: Shutter speed: 1/30 Aperture: f4.0 ISO: 360  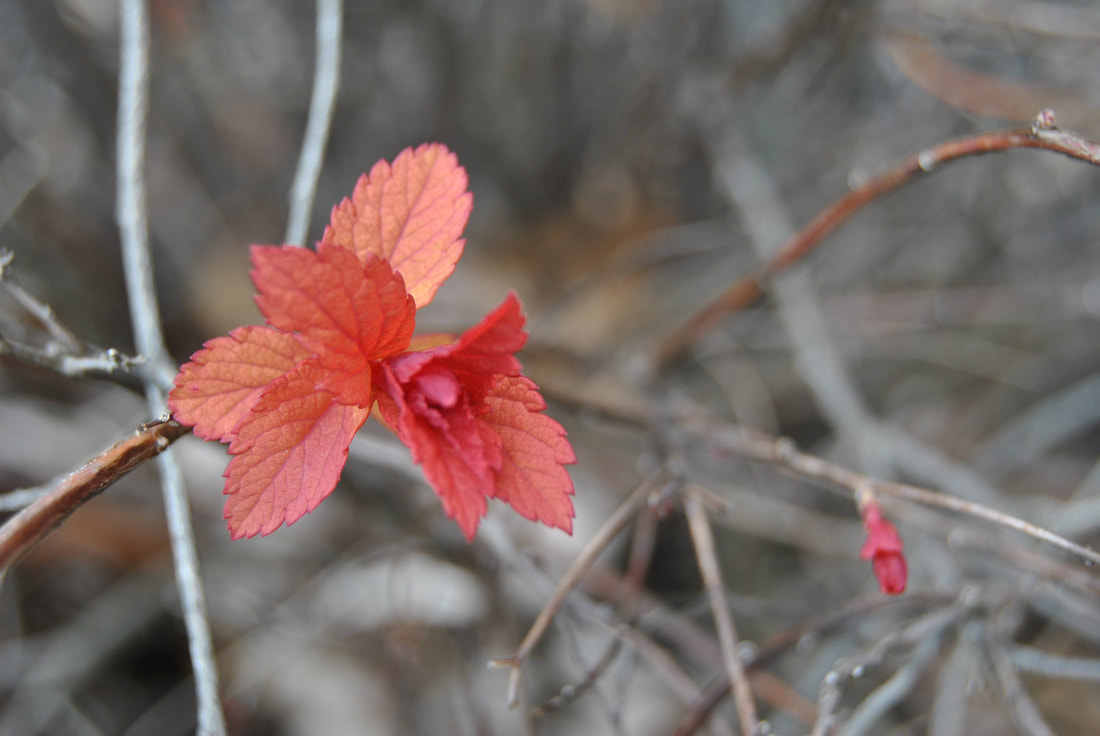  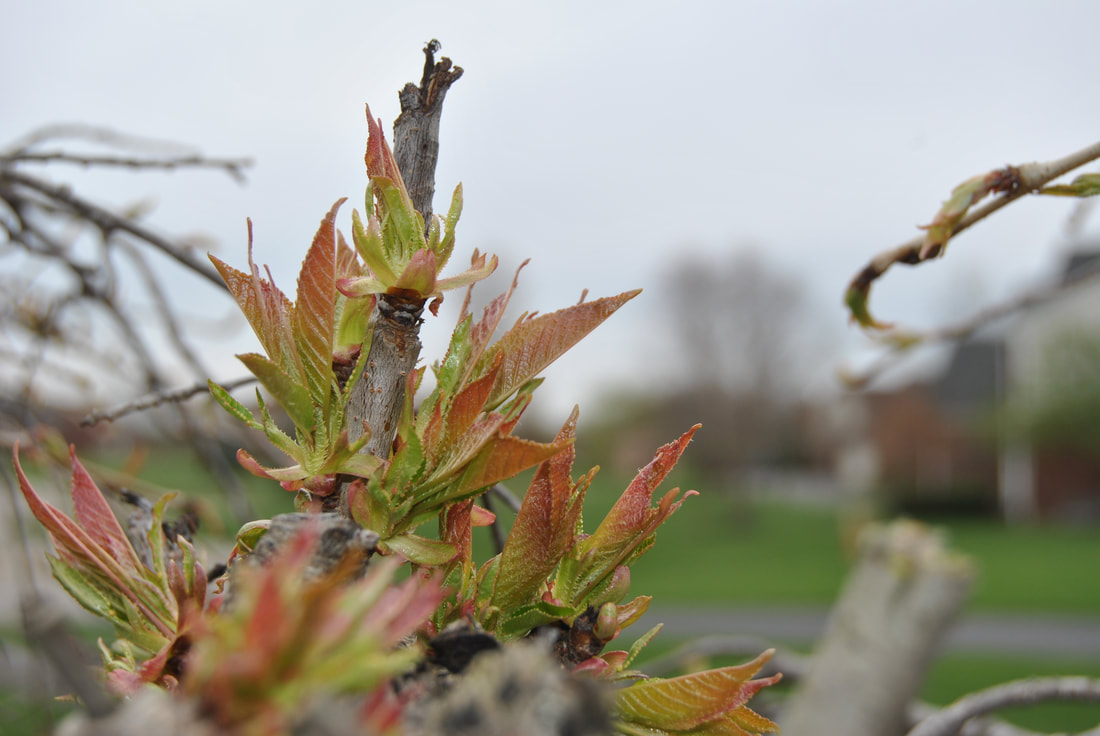 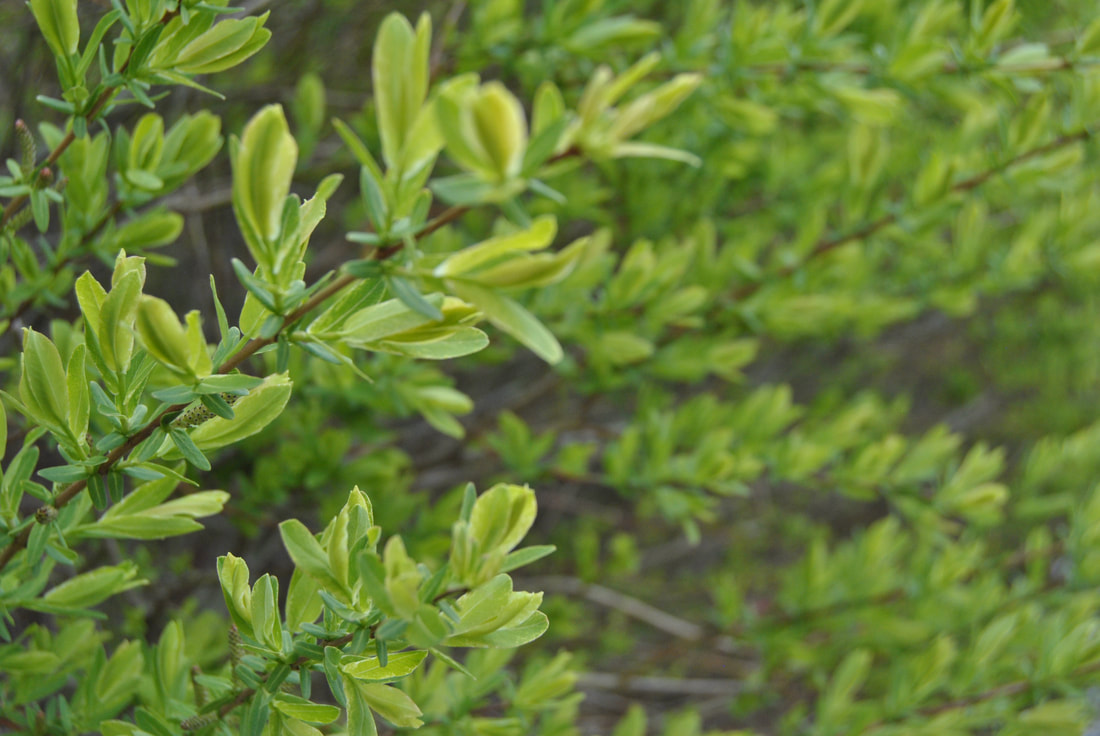 Overall I enjoyed this macro assignment. I liked being able to capture up close because of how nicely the details of my subject came out in each picture. I learned a lot about dealing with wind and trying to get a nice aperture length, but also have to work with a real fast shutter speed so the wind didn't make my photos blurry. I had some trouble with my camera at first because it doesn't always like when I get really close to my subject, so I had to work around those issues. Overall, I really like these photographs, I just wish there would've been more flowers and it would've been a nicer day because it was pretty dark and overcast.
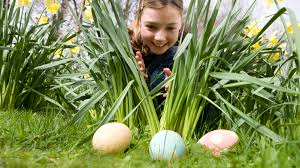
In this assignment, we were asked to choose a category and take pictures that would fall into your chosen category. For this assignment, I chose to take photos of an event, specifically the Easter brunch being held at my house. Our goal was to take between 40-50 picture and choose our best ones (good composition, lighting, exposure, etc) and blog them. Below are photos from the event, including an Easter egg hunt, fun with bubbles, and decorations.  This photos technical elements are as follows: Aperture-f/4.5 Shutter Speed- 1/2500 ISO- 400 In this photo, I did not do any editing as I thought the picture looked best in its original form. 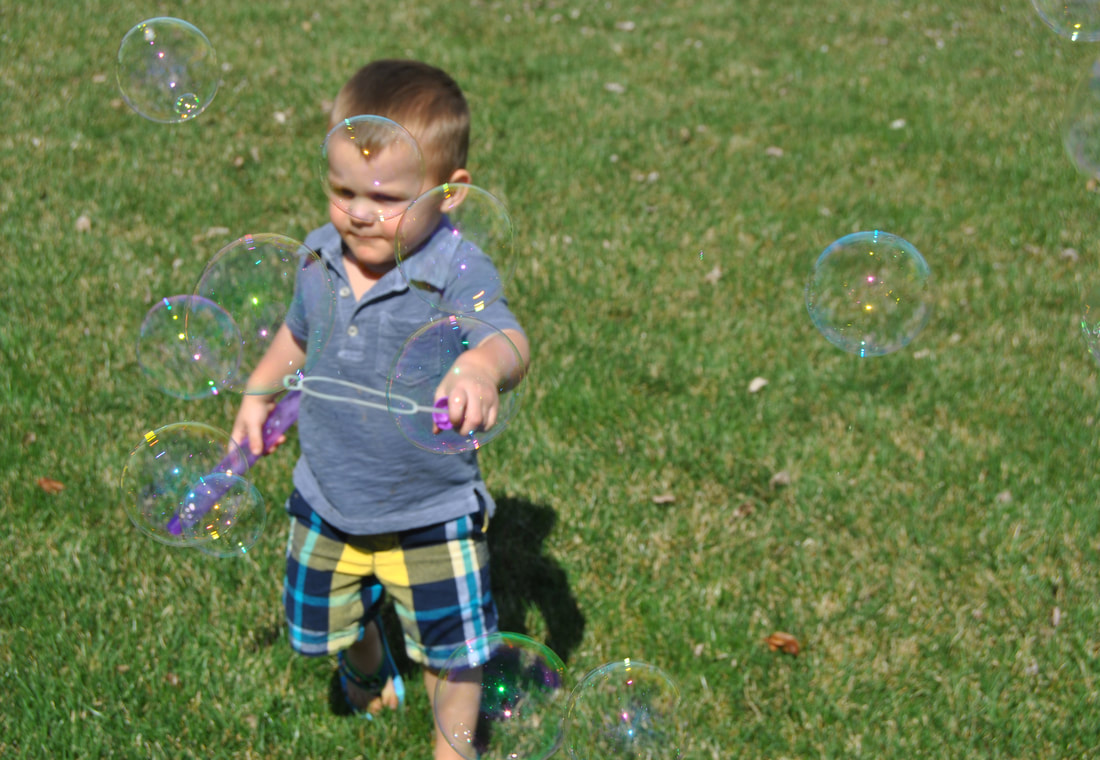  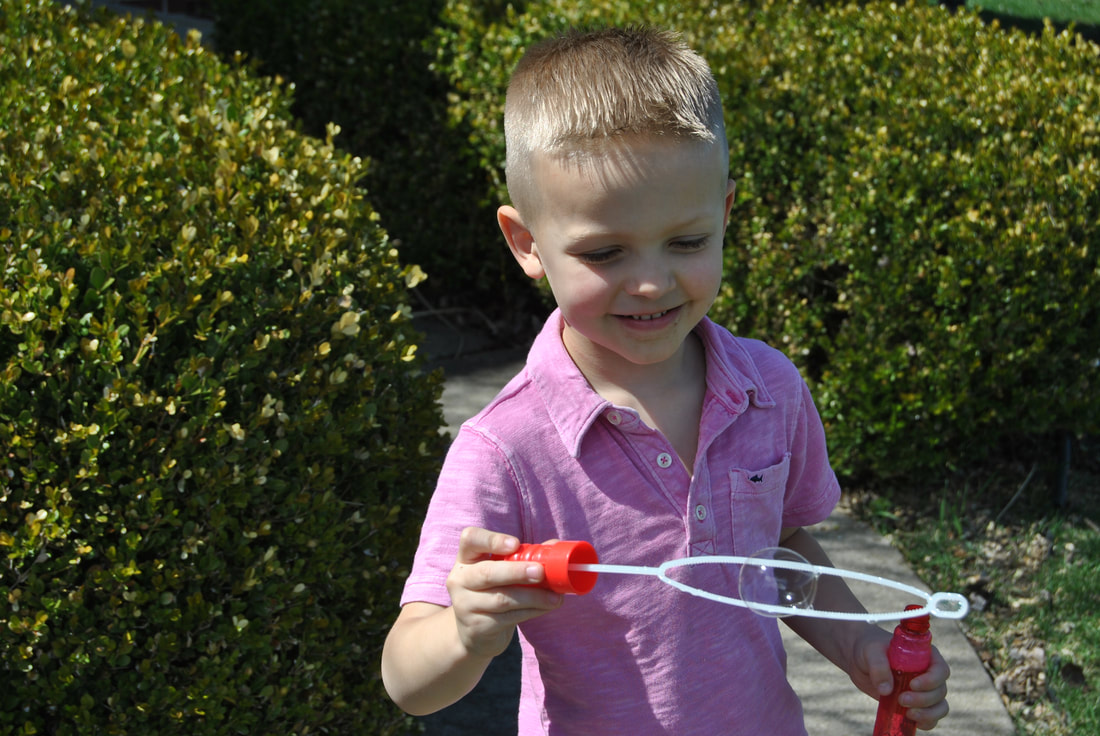  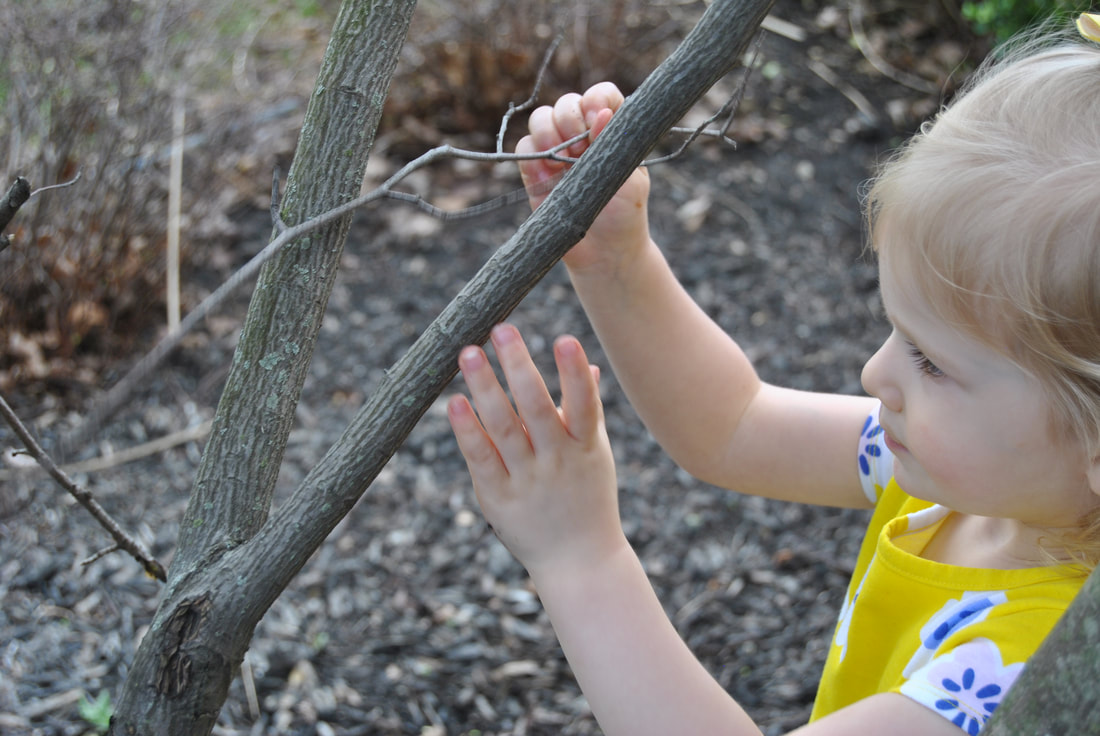 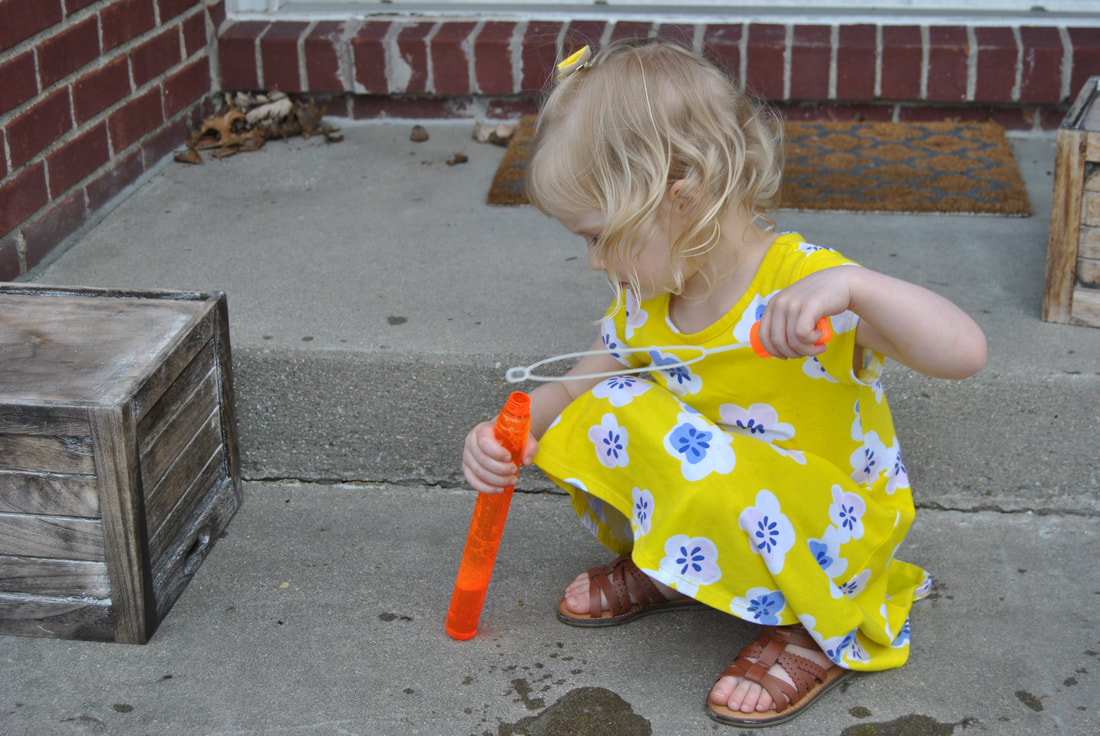 Overall, I had a really fun time shooting this assignment. I found that it was extremely hard to capture pictures with the kids and bubbles in one. This was because the bubbles did not last long (popped easily) and the kids moved around very quickly. It was also hard to get the perfect angle because I only had a split second before the kids were moving again. Although, I was able to stage a few of the images which made it a little easier to capture a good photo.
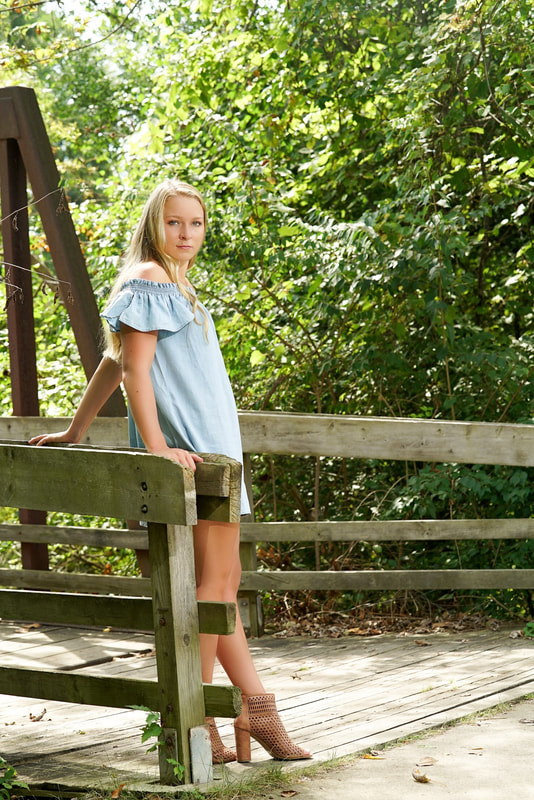
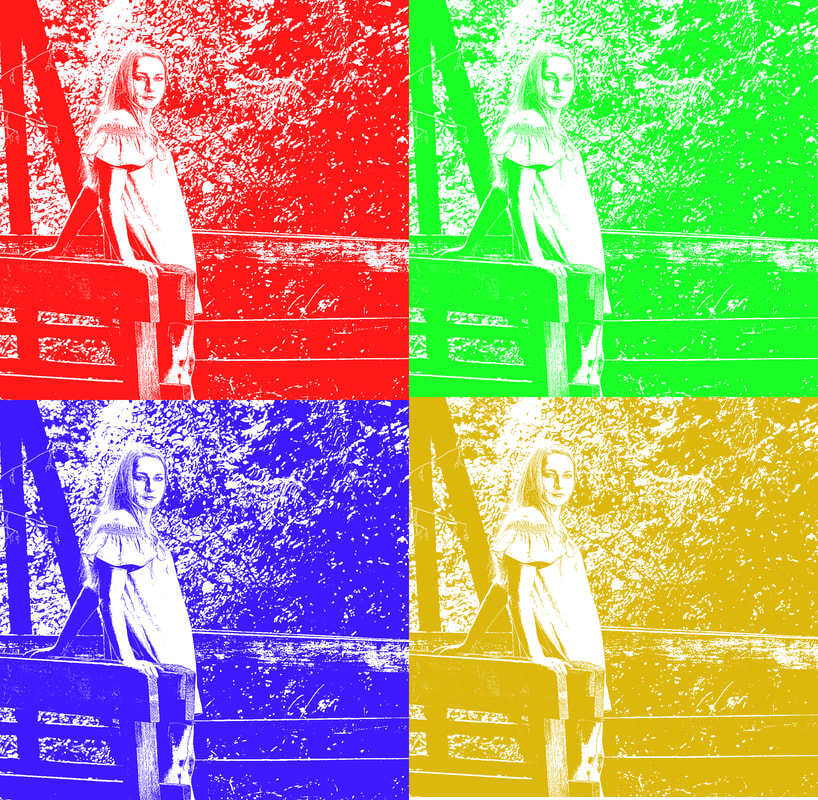
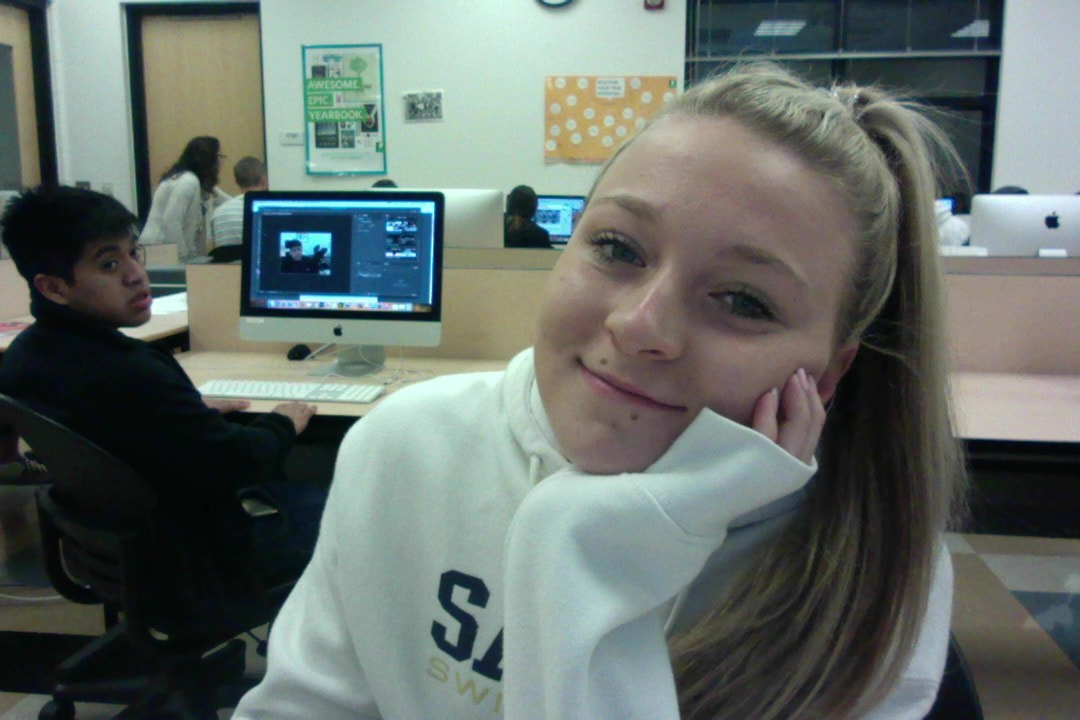
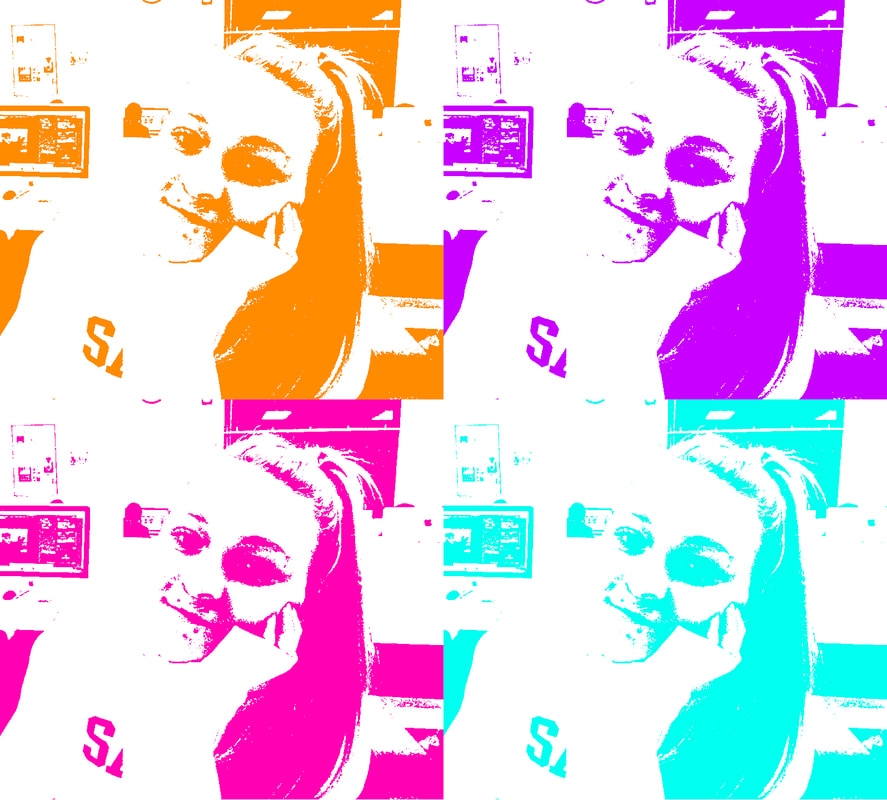
In this assignment, we were given step by step directions to follow in forming an original picture of us into a pop art piece. We first changed the pixels on our original picture and turned it black and white, this made our photo appear more cartoon-ish. We then created a blank canvas and placed our new black and white picture in each corner (4 pictures total). Lastly, we changed the color of each photo to make it appear as if it were pop art. Attached below our both of my Pop Art pictures. Throughout this assignment I learned a lot about how to navigate the photoshop application. Specifically, I learned where to go in order to resize my canvas by going to the image button in the top left corner and pressing canvas size. I also learned how photoshop works in terms of creating your photo within layers. I didn't realize you could edit individual layers at once, I originally thought if you did an edit, the whole picture would be affected.
For my first shooting photo shooting assignment I am going to focus on people and an event. I am hoping to capture the personality of people at an Easter event with my family on Sunday. Some photographs that I found as inspiration online are below: I think these are good examples of capturing people at an event and also two good examples of portrait photography. I enjoy that these photos focus on the personality of the kids as they search for eggs. I love all the colors in each photo and how they make the subject the focal point. I am excited to try this on my own!
For this assignment we first learned about what cameras are available to us for use, such as a point and shoot camera or a Single Lens Reflex Camera (SLR) and then we talked about the camera body and how the photos are created. After the camera, we learned the 11 basic elements of composition and took notes to understand how composition makes a photo visually appealing to your audience. After finishing our notes, we were given an assignment to shoot photographs containing the elements of composition. We then chose the photo that best represented each element and those 11 photos are pictured below. Depth of Field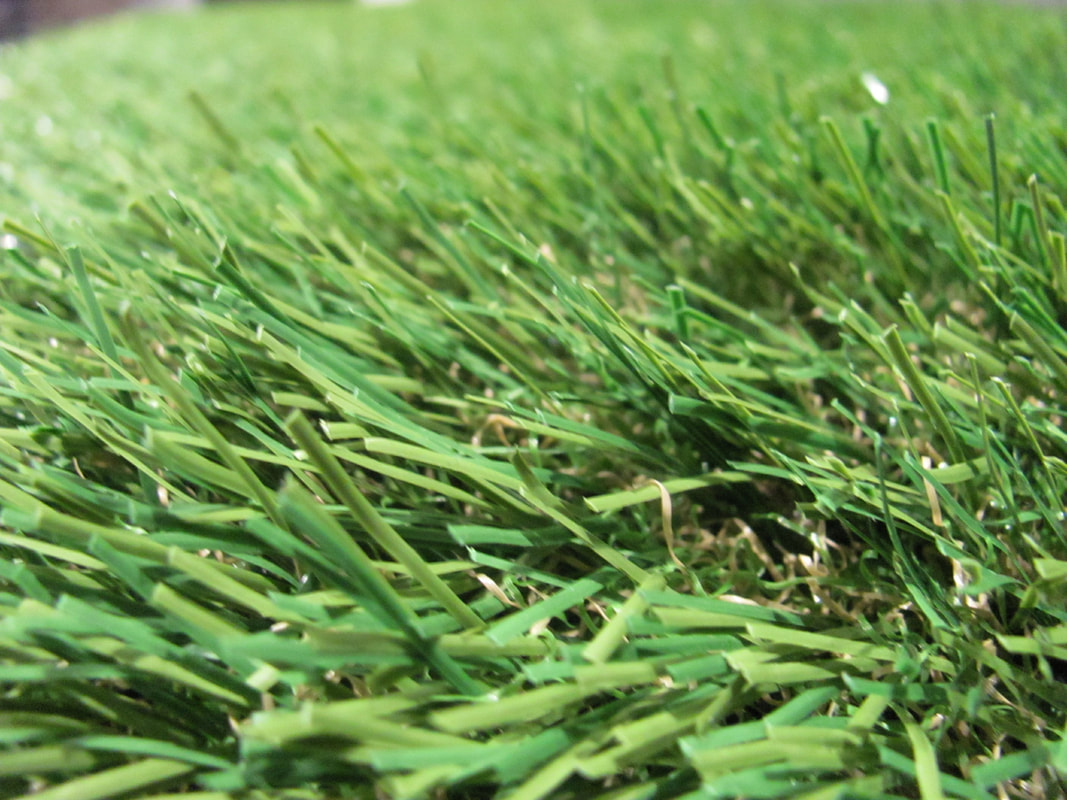 Lines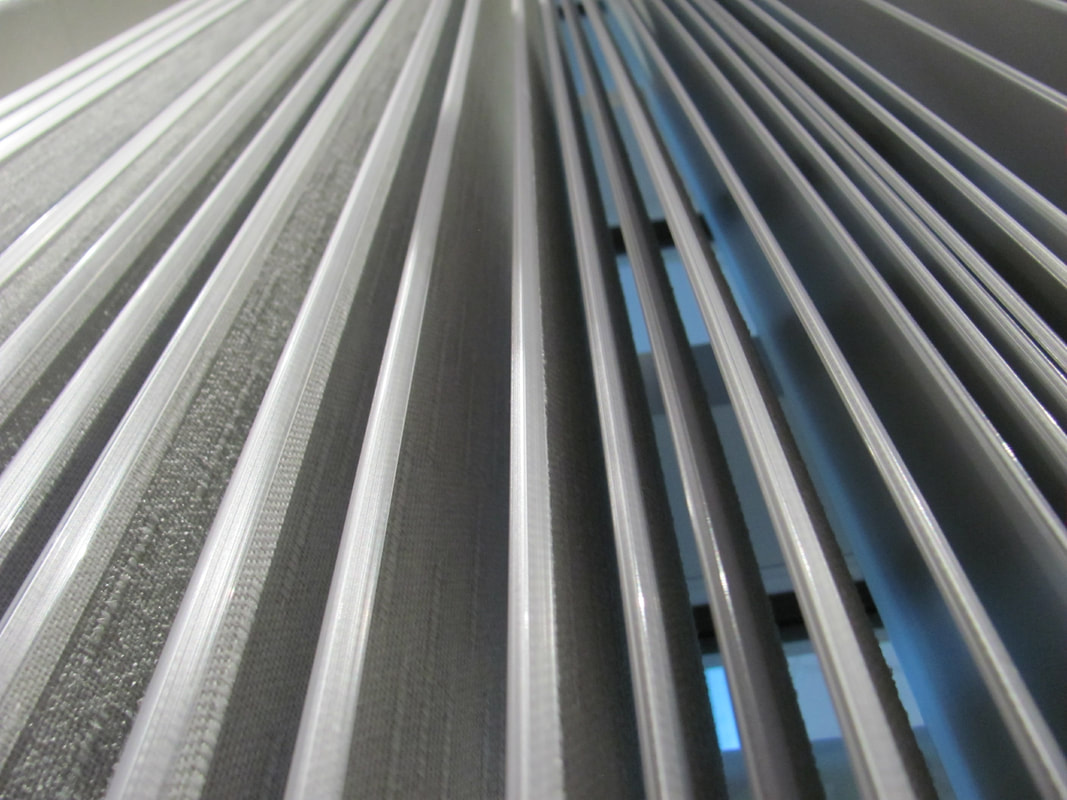 Pattern Rule of Thirds Symmetry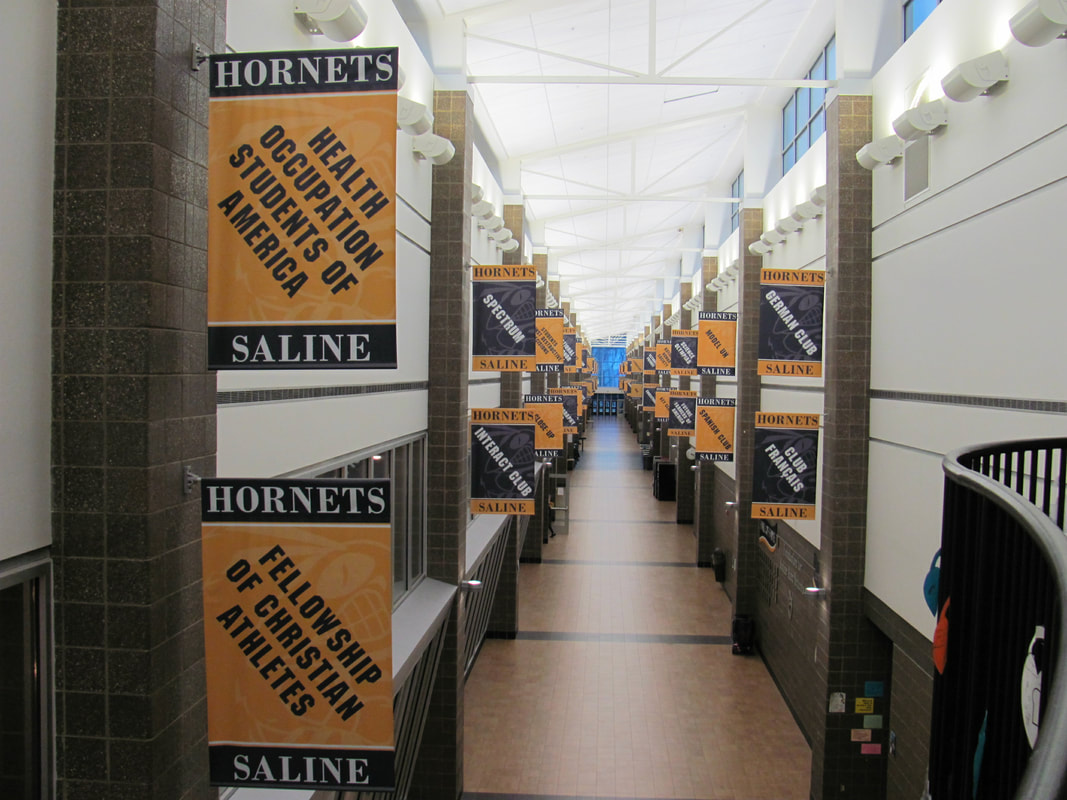 Texture Color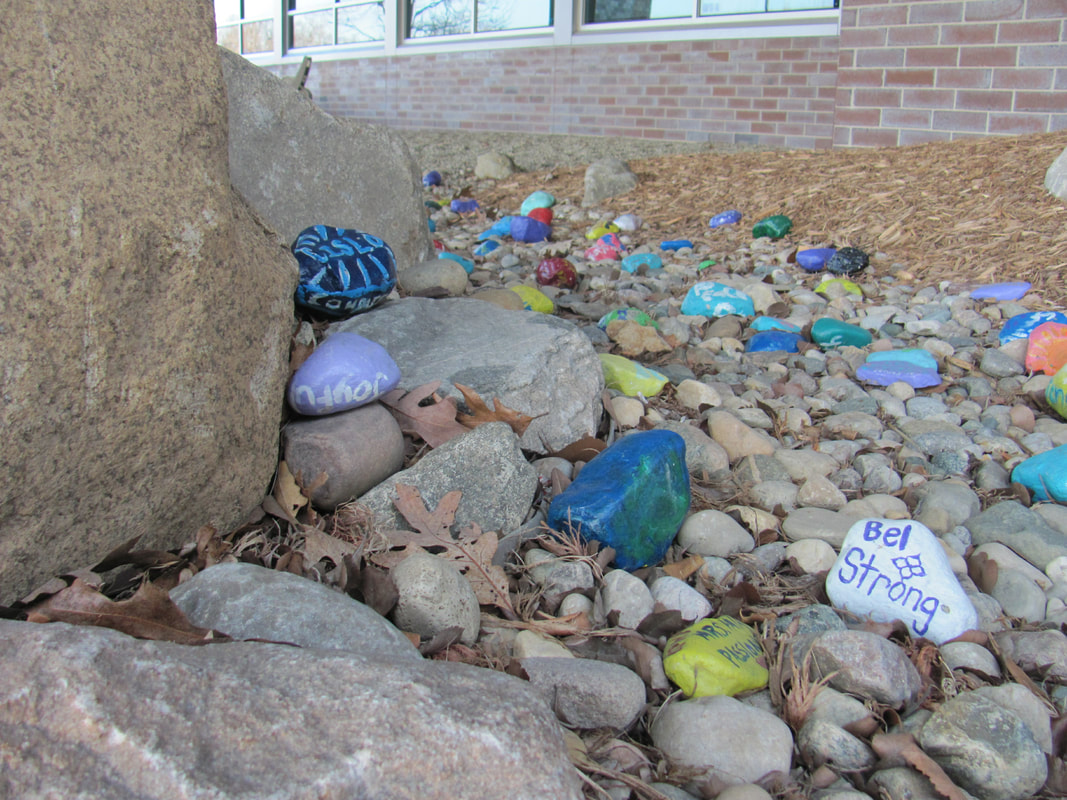 Perspective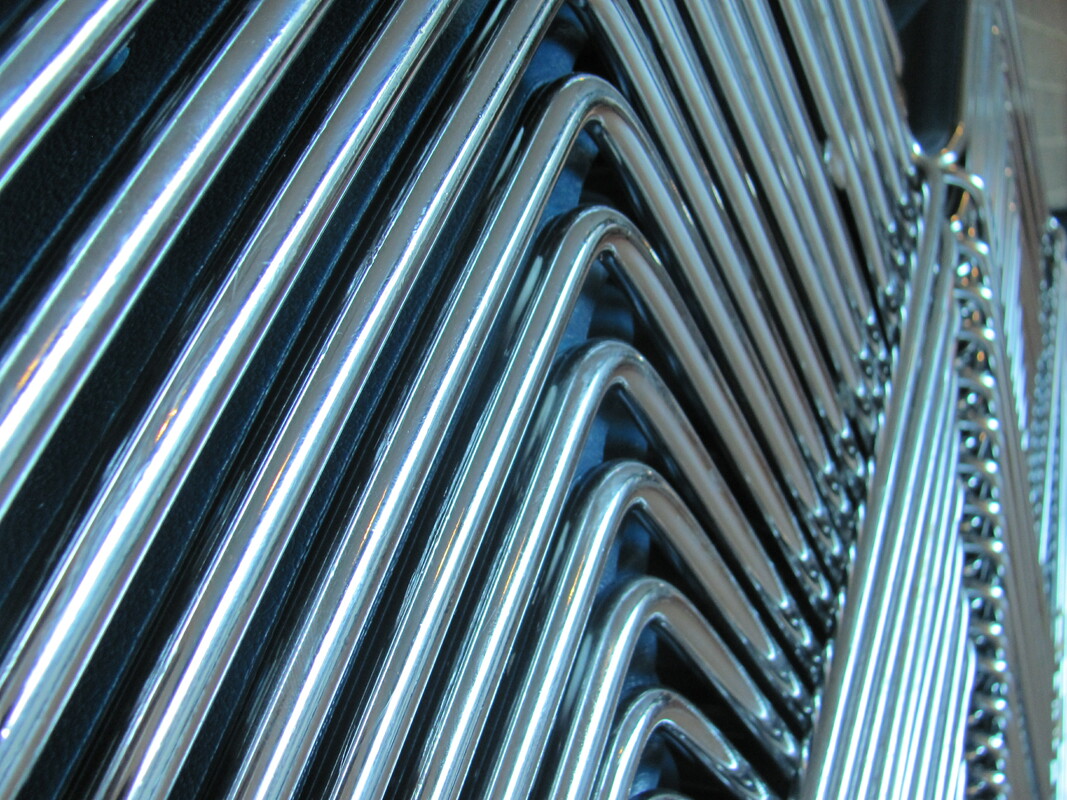 Balance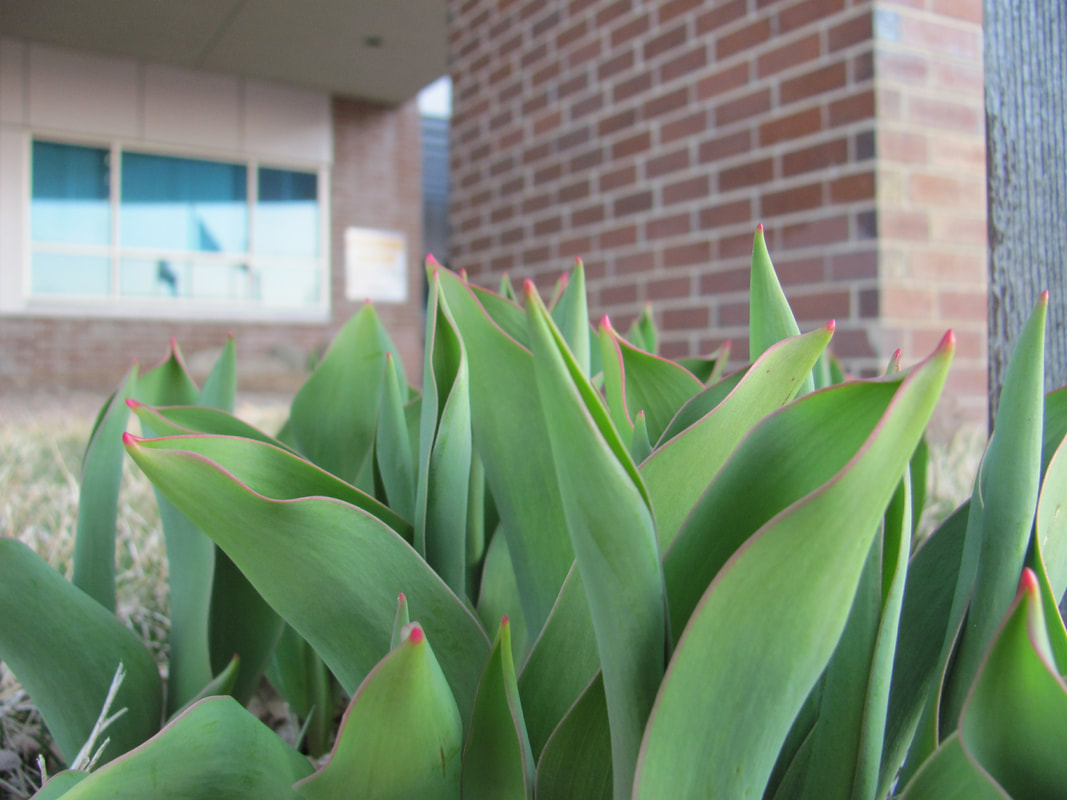 Framing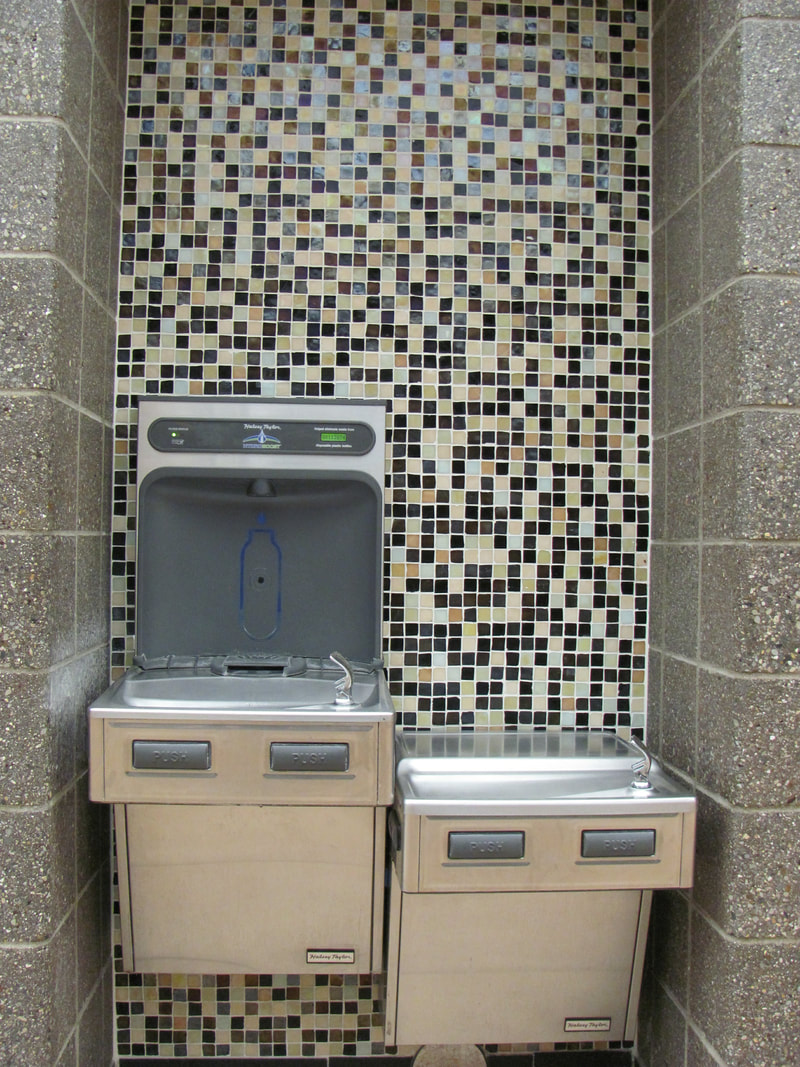 Space Throughout this assignment I learned a few things. Previously I had taken Multimedia in middle school so we used a few of the composition elements to create visually appealing photos. Although, in this assignment I learned a lot about balance, texture, and lines, elements we didn't necessarily learn in middle school. I really enjoyed learning and understanding how placing your subject at different angles or places in the photo can effect how balanced your photograph is. I also liked reading about lines and the many different types (converging, horizontal, vertical, and diagonal) and how each type of line can act as something different. For example, horizontal lines often act as a dividing point in a photo while converging lines are used to lead your viewer's eye to the focal point. Overall, I enjoyed this assignment and re-learning/learning the basic composition techniques needed to shoot better photographs.
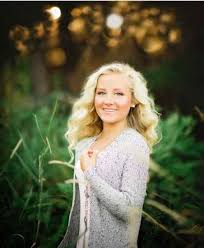
 Hi! My name is Maddie Luther and this is my blog for my digital photography class. I am currently in my senior year of high school. Next year, I will be attending the University of Louisville where I will also continue my competitive swimming career. In my free time, I like to to be active by visiting new places and try new foods. I took digital photography because I previously took film photography and really enjoyed taking photos and developing film. I am also excited to take digital photography because I enjoy taking pictures, especially when I am on vacation, and I hope to have better looking photographs in the future.
|
MaddieCompetitive swimming, adventure loving, foodie who also likes to take photographs. ArchivesCategories |


 RSS Feed
